GCP
GCP CLI 설치
# 'root'에서 'gcp_cli' 폴더 생성 후 이동
mkdir gcp_cli && cd $_

# 'tee'를 사용해서 'EOM' 사이에 있는 텍스트들이 다음 파일 안에 입력된다.
tee -a /etc/yum.repos.d/google-cloud-sdk.repo << EOM
[google-cloud-cli]
name=Google Cloud CLI
baseurl=https://packages.cloud.google.com/yum/repos/cloud-sdk-el8-x86_64
enabled=1
gpgcheck=1
repo_gpgcheck=0
gpgkey=https://packages.cloud.google.com/yum/doc/yum-key.gpg
       https://packages.cloud.google.com/yum/doc/rpm-package-key.gpg
EOM

# yum에 입력한 'google-cloud-cli' 설치
yum install -y google-cloud-cli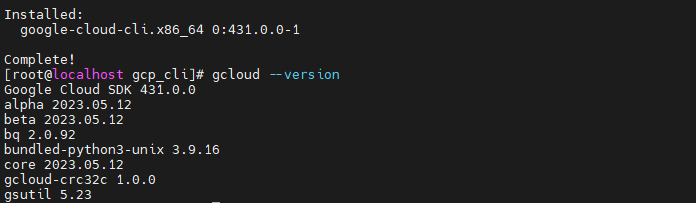
GCP 설정

# GCP 자격증명
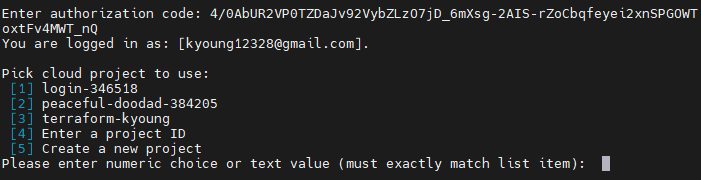
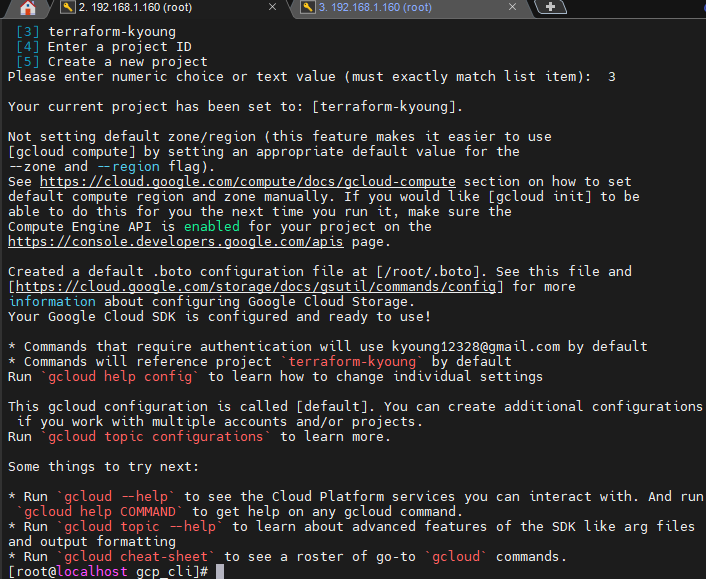
gcloud init --console-only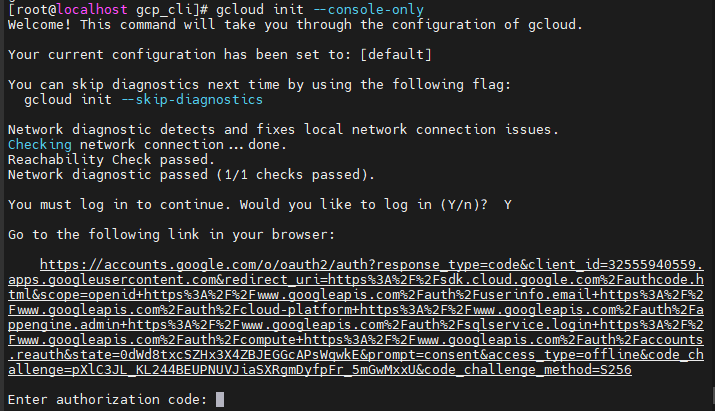
# 'test-vpc' VPC 생성
gcloud compute networks create test-vpc

# 'test-vpc'에 'test-subnet' 서브넷 생성 (대역폭과 리전 설정)
gcloud compute networks subnets create test-subnet --network=test-vpc --range=192.168.0.0/16 --region=asia-northeast3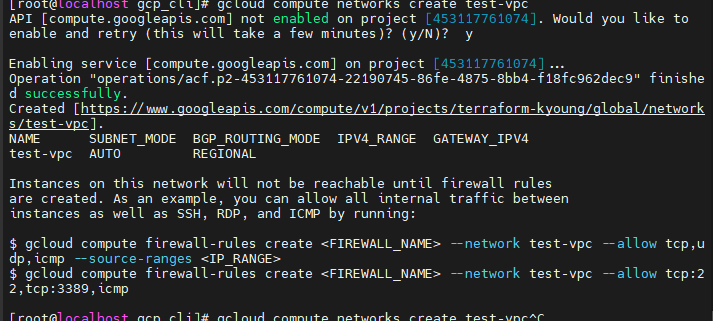
# 방화벽 규칙 리스트 확인
gcloud compute firewall-rules list

# test-vpc 인바운드 내 아이피에 대해 22포트 개방
gcloud compute firewall-rules create test-vpc-allow-ssh --allow=tcp:22 --description="Allow incoming traffic on TCP port 22" --direction=INGRESS --network=test-vpc --source-ranges [내 아이피]/32

# test-vpc 인바운드 모든 아이피에 대해 80포트(http) 개방
gcloud compute firewall-rules create test-vpc-allow-http --allow=tcp:80 --description="Allow incoming traffic on TCP port 80" --direction=INGRESS --network=test-vpc --source-ranges 0.0.0.0/0

# test-vpc 인바운드 모든 아이피에 대해 ALL ICMP 개방
gcloud compute firewall-rules create test-vpc-allow-icmp --allow=icmp --description="Allow incoming traffic on ICMP" --direction=INGRESS --network=test-vpc --source-ranges 0.0.0.0/0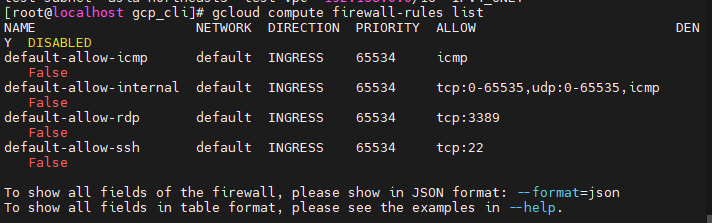

인스턴스 생성
# 이미지 리스트 확인
gcloud compute images list
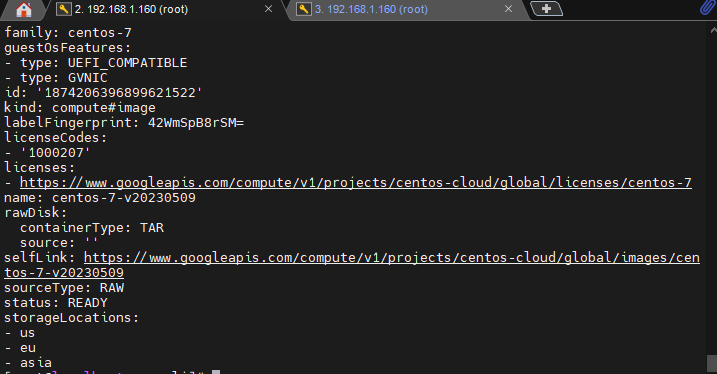
# 이미지 리스트에 있던 centos7 정보 확인 (가용 영역에 사용 가능한지 확인)
gcloud compute images describe centos-7-v20230509 --project=centos-cloud
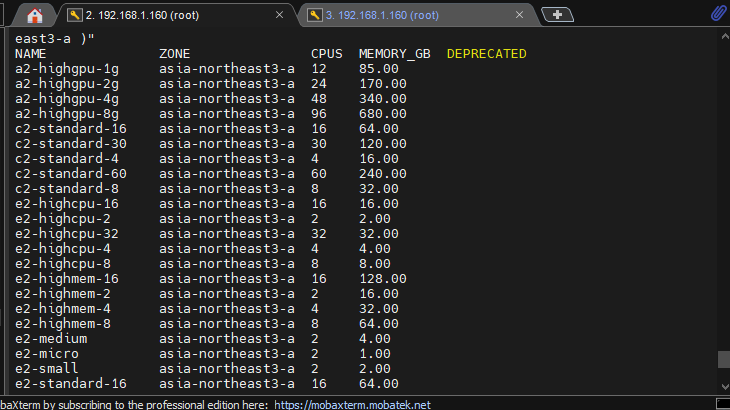
# 다음 리전의 머신 타입들을 확인(AWS에선 인스턴스 유형)
gcloud compute machine-types list --filter="zone:( asia-northeast3-a )"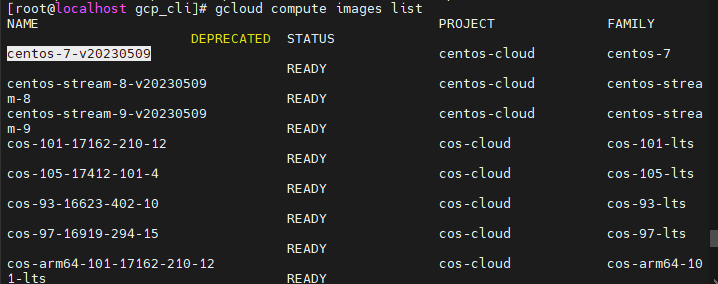
# 시작 스크립트(사용자 데이터)로 사용될 'httpd-gcp.txt' 생성
vi httpd-gcp.txt
//
#!/bin/bash
setenforce 0
yum install -y httpd wget
systemctl enable --now httpd
cd /tmp
wget [S3에 존재하는 웹 서버 파일(ex: food.tar) URL 주소]
tar xvf food.tar -C /var/www/html
//
# 인스턴스 생성 (옵션들을 확인)
gcloud compute instances create foodwagon \
    --image=centos-7-v20230509 \
    --image-project=centos-cloud \
    --machine-type=e2-micro \
    --network=test-vpc \
    --subnet=test-subnet \
    --tags http-server,https-server \
    --zone=asia-northeast3-a \
    --metadata-from-file=startup-script=httpd-gcp.txt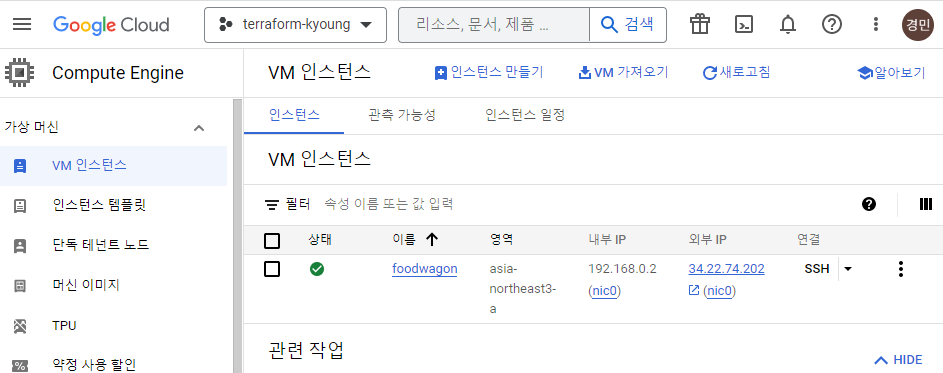
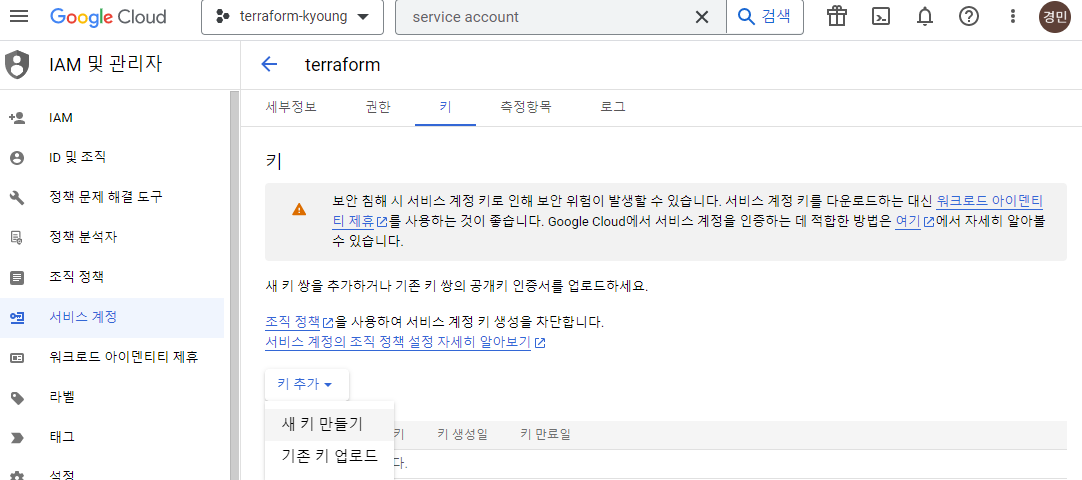
키 생성 및 키 인증 접속
# 키 생성 (입력 칸엔 '공백'을 입력하여 패스워드 미설정)
ssh-keygen -t rsa -f /root/.ssh/[사용자 명] -C [사용자 명] -b 2048

# 키 파일 확인
cat /root/.ssh/[사용자 명].pub
// 맨 앞에 사용자 명 붙이기
kyounggu:ssh-rsa
//

# 키 접속 방식 추가
gcloud compute os-login ssh-keys add \
    --key-file=/root/.ssh/[사용자 명].pub \
    --project=[프로젝트 아이디] \
    --ttl=365d

# 키 데이터 등록
gcloud compute instances add-metadata [프로젝트 명] --metadata-from-file ssh-keys=/root/.ssh/[사용자 명].pub

# 키 인증 접속
ssh -i /root/.ssh/[사용자 명] [사용자 명]@[인스턴스 퍼블릭 아이피]
삭제
# 인스턴스 삭제
gcloud compute instances delete foodwagon

# 방화벽 규칙 삭제 (전에 생성했던 규칙들{default 제외}를 제거해줘야 한다)
gcloud compute firewall-rules delete test-vpc-allow-http
gcloud compute firewall-rules delete test-vpc-allow-icmp
gcloud compute firewall-rules delete test-vpc-allow-ssh

# 서브넷 삭제
gcloud compute networks subnets delete test-subnet
// asia-northeast3
5
//

# vpc 삭제
gcloud compute networks delete test-vpc
GCP_set
테라폼 생성
# provider.tf 생성
vi provider.tf
//
provider "google" {
  credentials = file("credentials.json")	// 정보를 암호화해서 링크 파일로 가져옴 (자격 증명을 한번 더 위한 파일)
  project = "terraform-kyoung"
  region = "asia-northeast3"
  zone = "asia-northeast3-a"
}
//
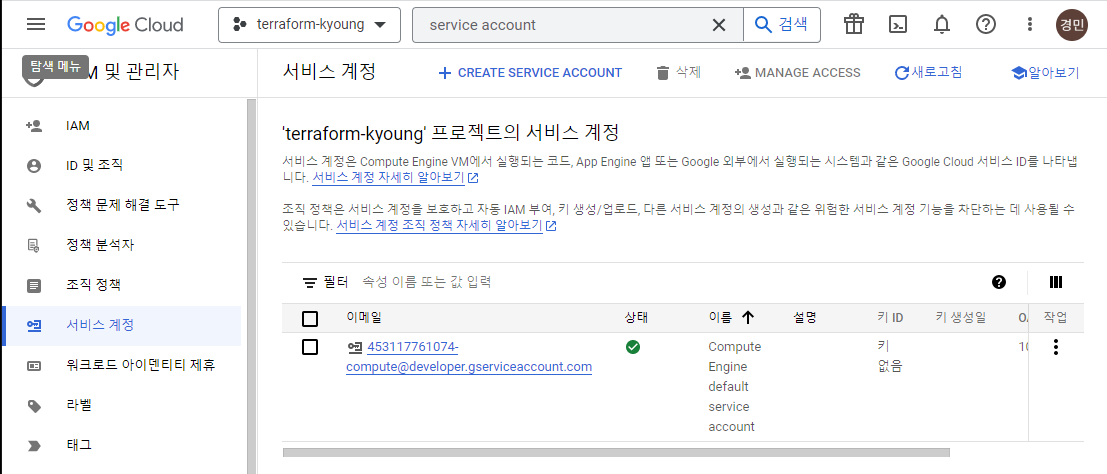
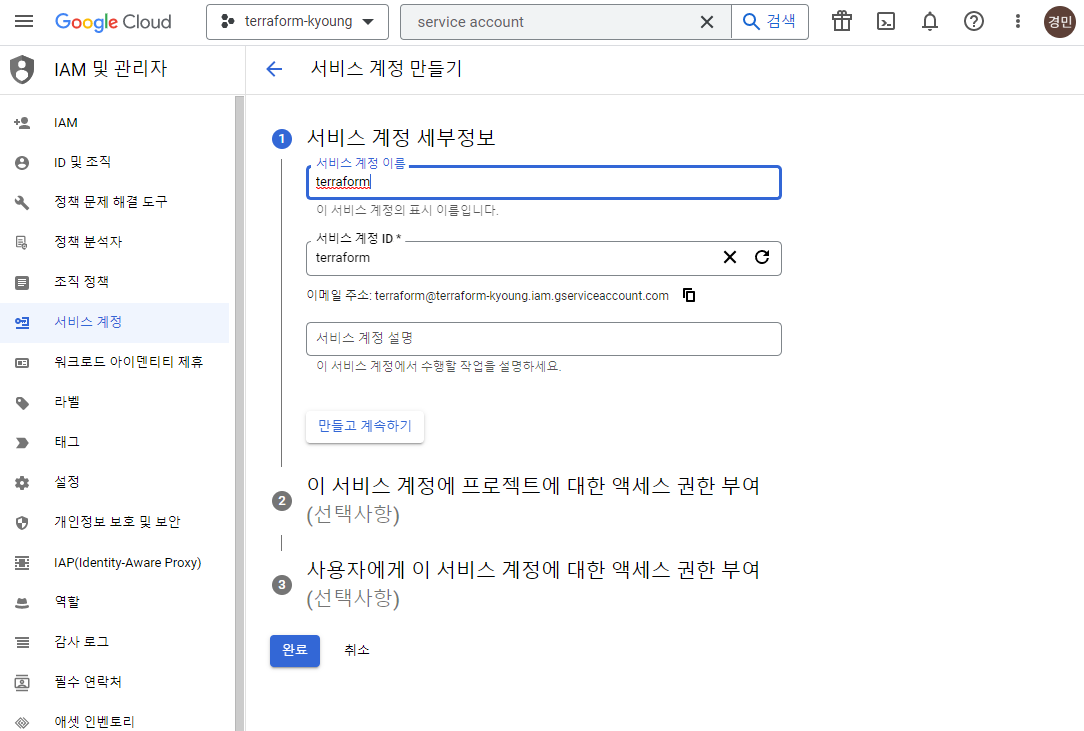
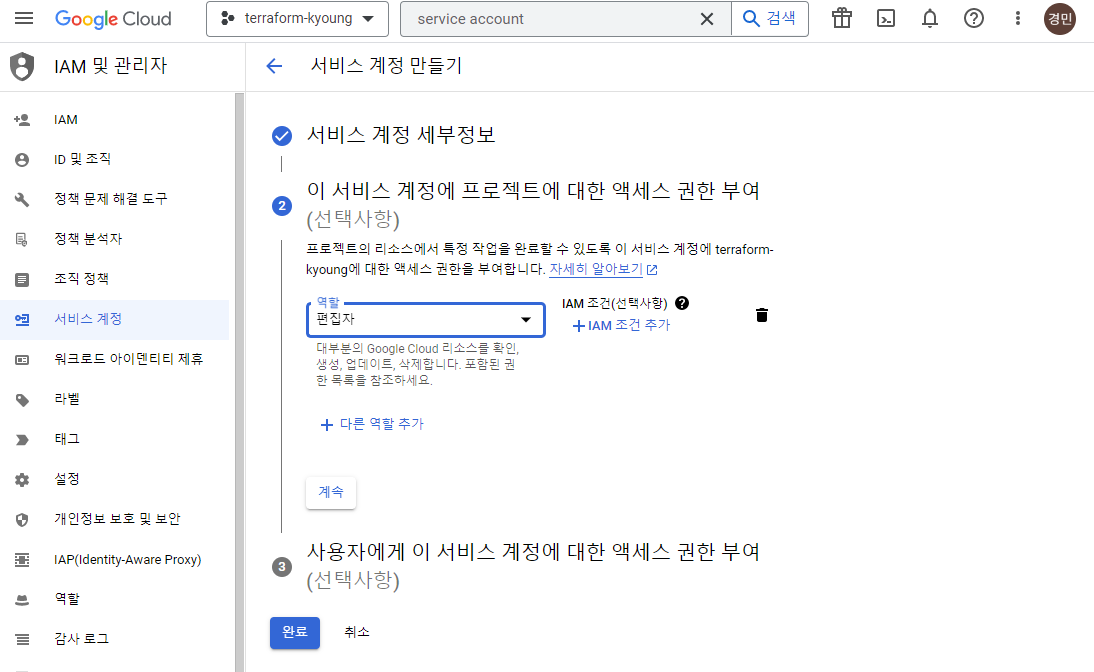
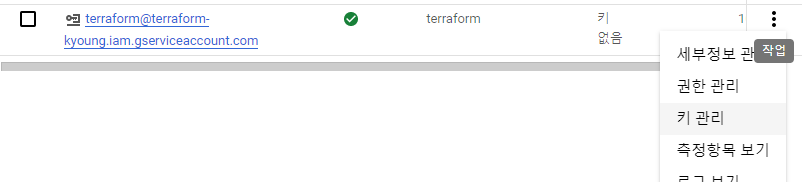
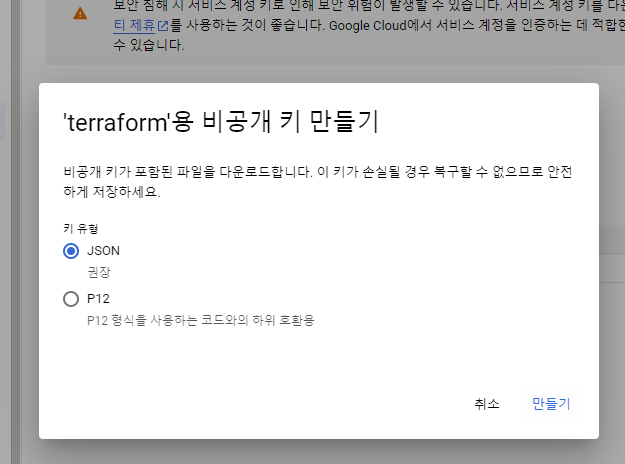
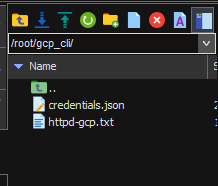
추가적으로 'credentials.josn 파일을 만들기 위해 다음과 같은 작업을 해야한다.

# main.tf 생성
vi main.tf
//
resource "google_compute_network" "custom-test" {
name = "test-vpc"
auto_create_subnetworks = false
}
resource "google_compute_subnetwork" "network-with-private-ip-ranges" {
name = "test-subnet1"
ip_cidr_range = "192.168.0.0/16"
region = "asia-northeast3"
network = google_compute_network.custom-test.id
}
resource "google_compute_firewall" "http-server" {
name = "test-vpc-allow-http-terraform"
network = google_compute_network.custom-test.id
allow {
protocol = "tcp"
ports = ["80"]
}
// Allow traffic from everywhere to instances with an http-server tag
source_ranges = ["0.0.0.0/0"]
target_tags = ["http-server"]
}
resource "google_compute_firewall" "https-server" {
name = "test-vpc-allow-https-terraform"
network = google_compute_network.custom-test.id
allow {
protocol = "tcp"
ports = ["443"]
}
// Allow traffic from everywhere to instances with an https-server tag
source_ranges = ["0.0.0.0/0"]
target_tags = ["https-server"]
}
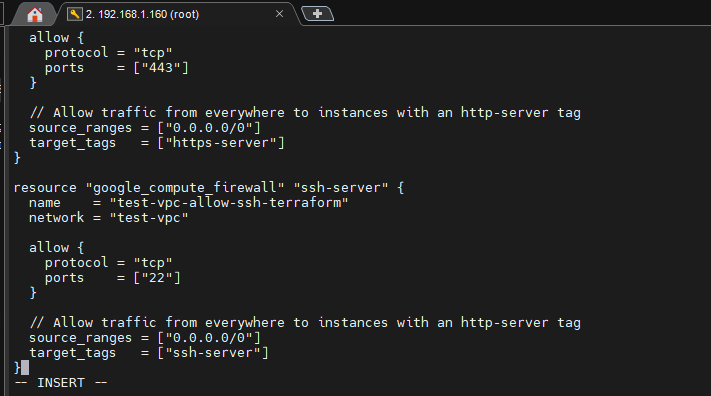
resource "google_compute_firewall" "ssh-server" {
name = "test-vpc-allow-ssh-terraform"
network = google_compute_network.custom-test.id
allow {
protocol = "tcp"
ports = ["22"]
}
// Allow traffic from everywhere to instances with an https-server tag
source_ranges = ["0.0.0.0/0"]
target_tags = ["ssh-server"]
}
resource "google_compute_instance" "default" {
name = "foodwagon"
machine_type = "e2-micro"
zone = "asia-northeast3-a"
boot_disk {
initialize_params {
image = "ubuntu-os-cloud/ubuntu-1804-lts" // 이미지 리스트에서 우분투 찾기
}
}
network_interface {
network = google_compute_network.custom-test.id
subnetwork = google_compute_subnetwork.network-with-private-ip-ranges.id
access_config {
// Include this section to give the VM an external ip address
}
}
metadata_startup_script = file("/root/gcp_cli/httpd-gcp.txt")
// Apply the firewall rule to allow external IPs to access this instance
tags = ["http-server", "https-server", "ssh-server"]
}
//
추가적으로 우분투를 사용하므로 'httpd-gcp.txt'를 우분투에 맞게 수정해야 한다.
# 'httpd-gcp.txt' 수정
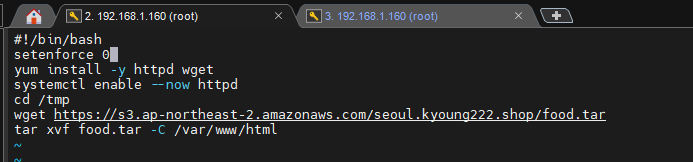
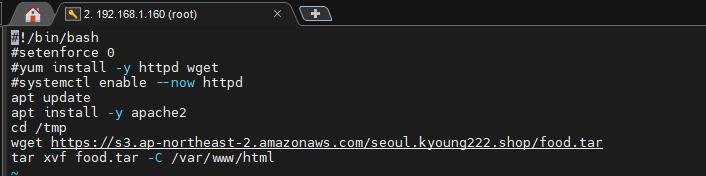
vi httpd-gcp.txt
//
#!/bin/bash
#setenforce 0
#yum install -y httpd wget
#systemctl enable --now httpd
apt update
apt install -y apache2
cd /tmp
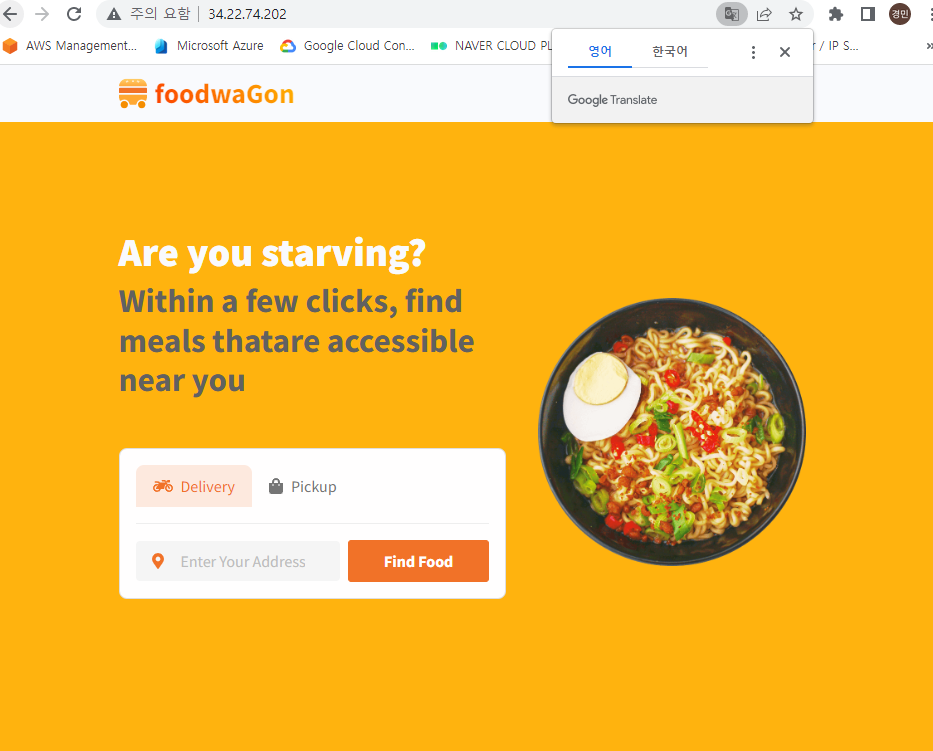
wget https://s3.ap-northeast-2.amazonaws.com/seoul.kyoung222.shop/food.tar
tar xvf food.tar -C /var/www/html
//
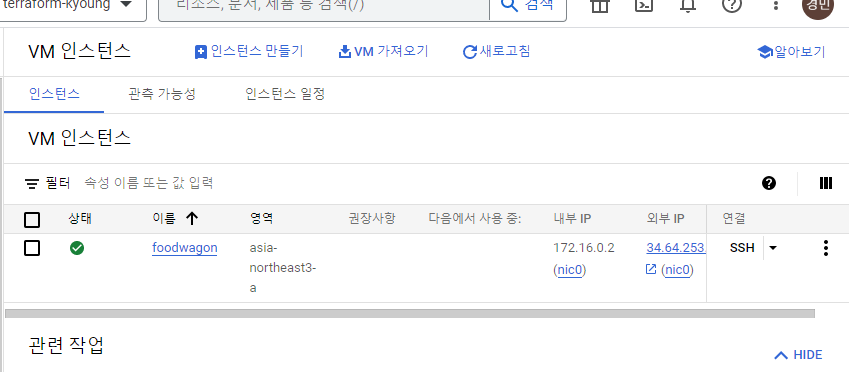
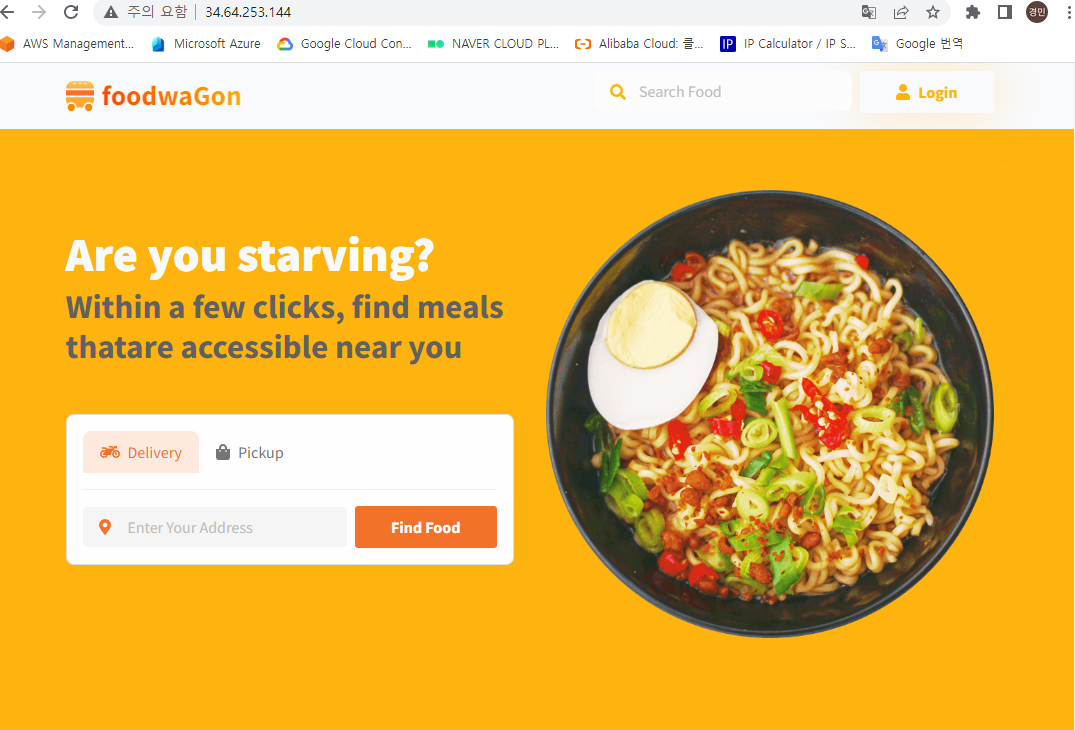
# 출력 생성
vi output.tf
//
output "ip" {
  value = "${google_compute_instance.default.network_interface.0.access_config.0.nat_ip}"
}
//
# 테라폼 사용
terraform init
terraform validate
terraform plan
terraform apply
만일 안된다면 'date' 명령어를 통해 시간을 확인해본다
# 시간이 안맞아서 토큰 에러가 뜰 경우, 시간을 수정한다.
yum install -y rdate
rdate -s time.bora.net
나머지 Platform 과 Application은 선택적인 서비스이다.
'메가존 클라우드 2기 교육 > 실무 특화' 카테고리의 다른 글
| Docker - 개념 및 명령어 (1) | 2023.05.24 |
|---|---|
| Ansible - CLI, 플레이북 (1) | 2023.05.22 |
| Terraform - 모듈식 생성, ALB와 ASG, NAT + RDS 생성 (0) | 2023.05.17 |
| Terraform - 설치 및 사용 (1) | 2023.05.16 |
| AWS CloudFormation (0) | 2023.05.16 |


